


Getting started with Figma’s MCP is wildly simple. It’s powerful. This is the workflow I wish I had years ago. Now I’m using everyday, and it’s has increase the speed and quality of my work.
It is easier than you think, and it fits to how designers already work
Start claude code
Navigate to the folder you want and run Claude Claude.
If you don’t want to sit their and keep hitting, yes, yes, continue. Start claude in your terminal using dangerously skip permissions. HOWEVER, protect yourself first. Backed-up your computer or are working in a virtual machine.
claude —dangerously-skip-permissions Tell Claude you want to set up the Figma MCP
Claude code will guide you through the setup.
You will have different options: Desktop vs. browser.
I setup to Figma browser so I don’t need Figma open to run the MCP.
You will be asked to sign in.
Paste this into Claude Code in your terminal should be enough to get you started.
I want to using the figma mcp can you set this up for me?[Optional] Outline how you want Claude to present your work in Figma
Create the layout on frame in Figma outlining how you want Figma to present its work. What information you want explained, where, and why.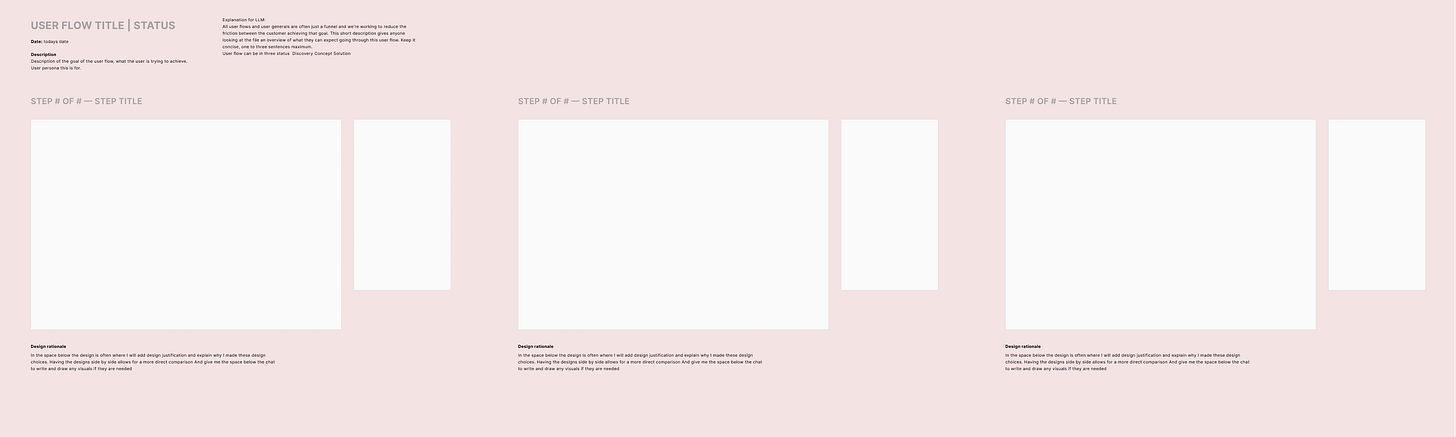
Create an example of how you want Claude to present your work. Example text I have in the template about:
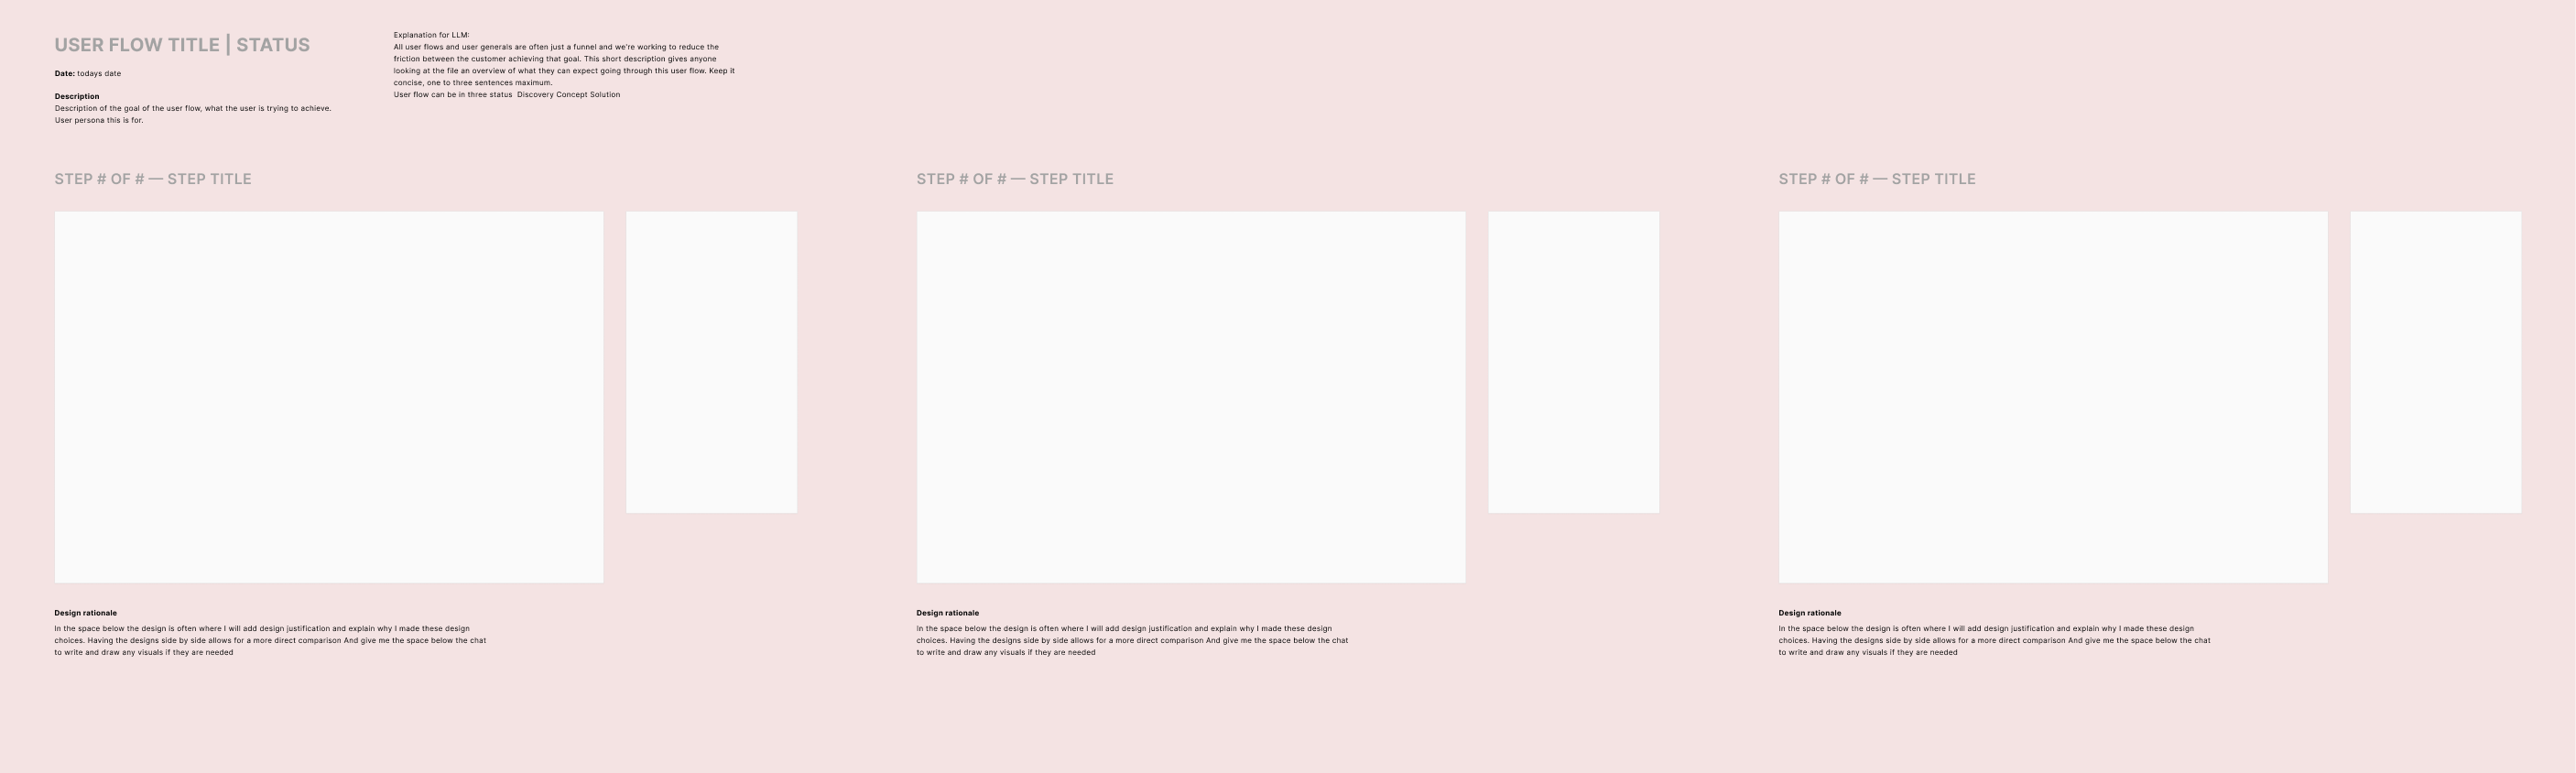
Explanation for LLM:
All user flows and user journeys are often just a funnel and we're working to reduce the friction between the customer achieving that goal. This short description gives anyone looking at the file an overview of what they can expect going through this user flow. Keep it concise, one to three sentences maximum.
Work can be in three status Discovery Concept Solution
Description
Description of the goal of the user flow, what the user is trying to achieve.
User persona this is for.
Design rationale
In the space below the design is often where I will add design justification and explain why I made these design choices. Having the designs side by side allows for a more direct comparison and give me the space below to write and draw any visuals if they are needed.Share your template URL with Claude Code.
Claude it will update your Claude.md to match this. I’ve done these a few different ways, and I’m happy with the outcomes.
prompt
When you present your designs include design rationale, and present them in this format. (link)Start describing what you want with Claude.
example: Please give me 4 number of variations that are completely different and explain your design rationale for why this design is best. I’ve found myself sharing PRDs, OOUX maps, Sketches, essays, Context Maps, or just babbling with wisperflow. Share as much or as little as you want.
important note: Just like any design project.
If you start with a clear design brief with goals, business value/objectives, context of the problem you’re solving etc. You’ll get much better concepts and rationale.
Wait for it to work.
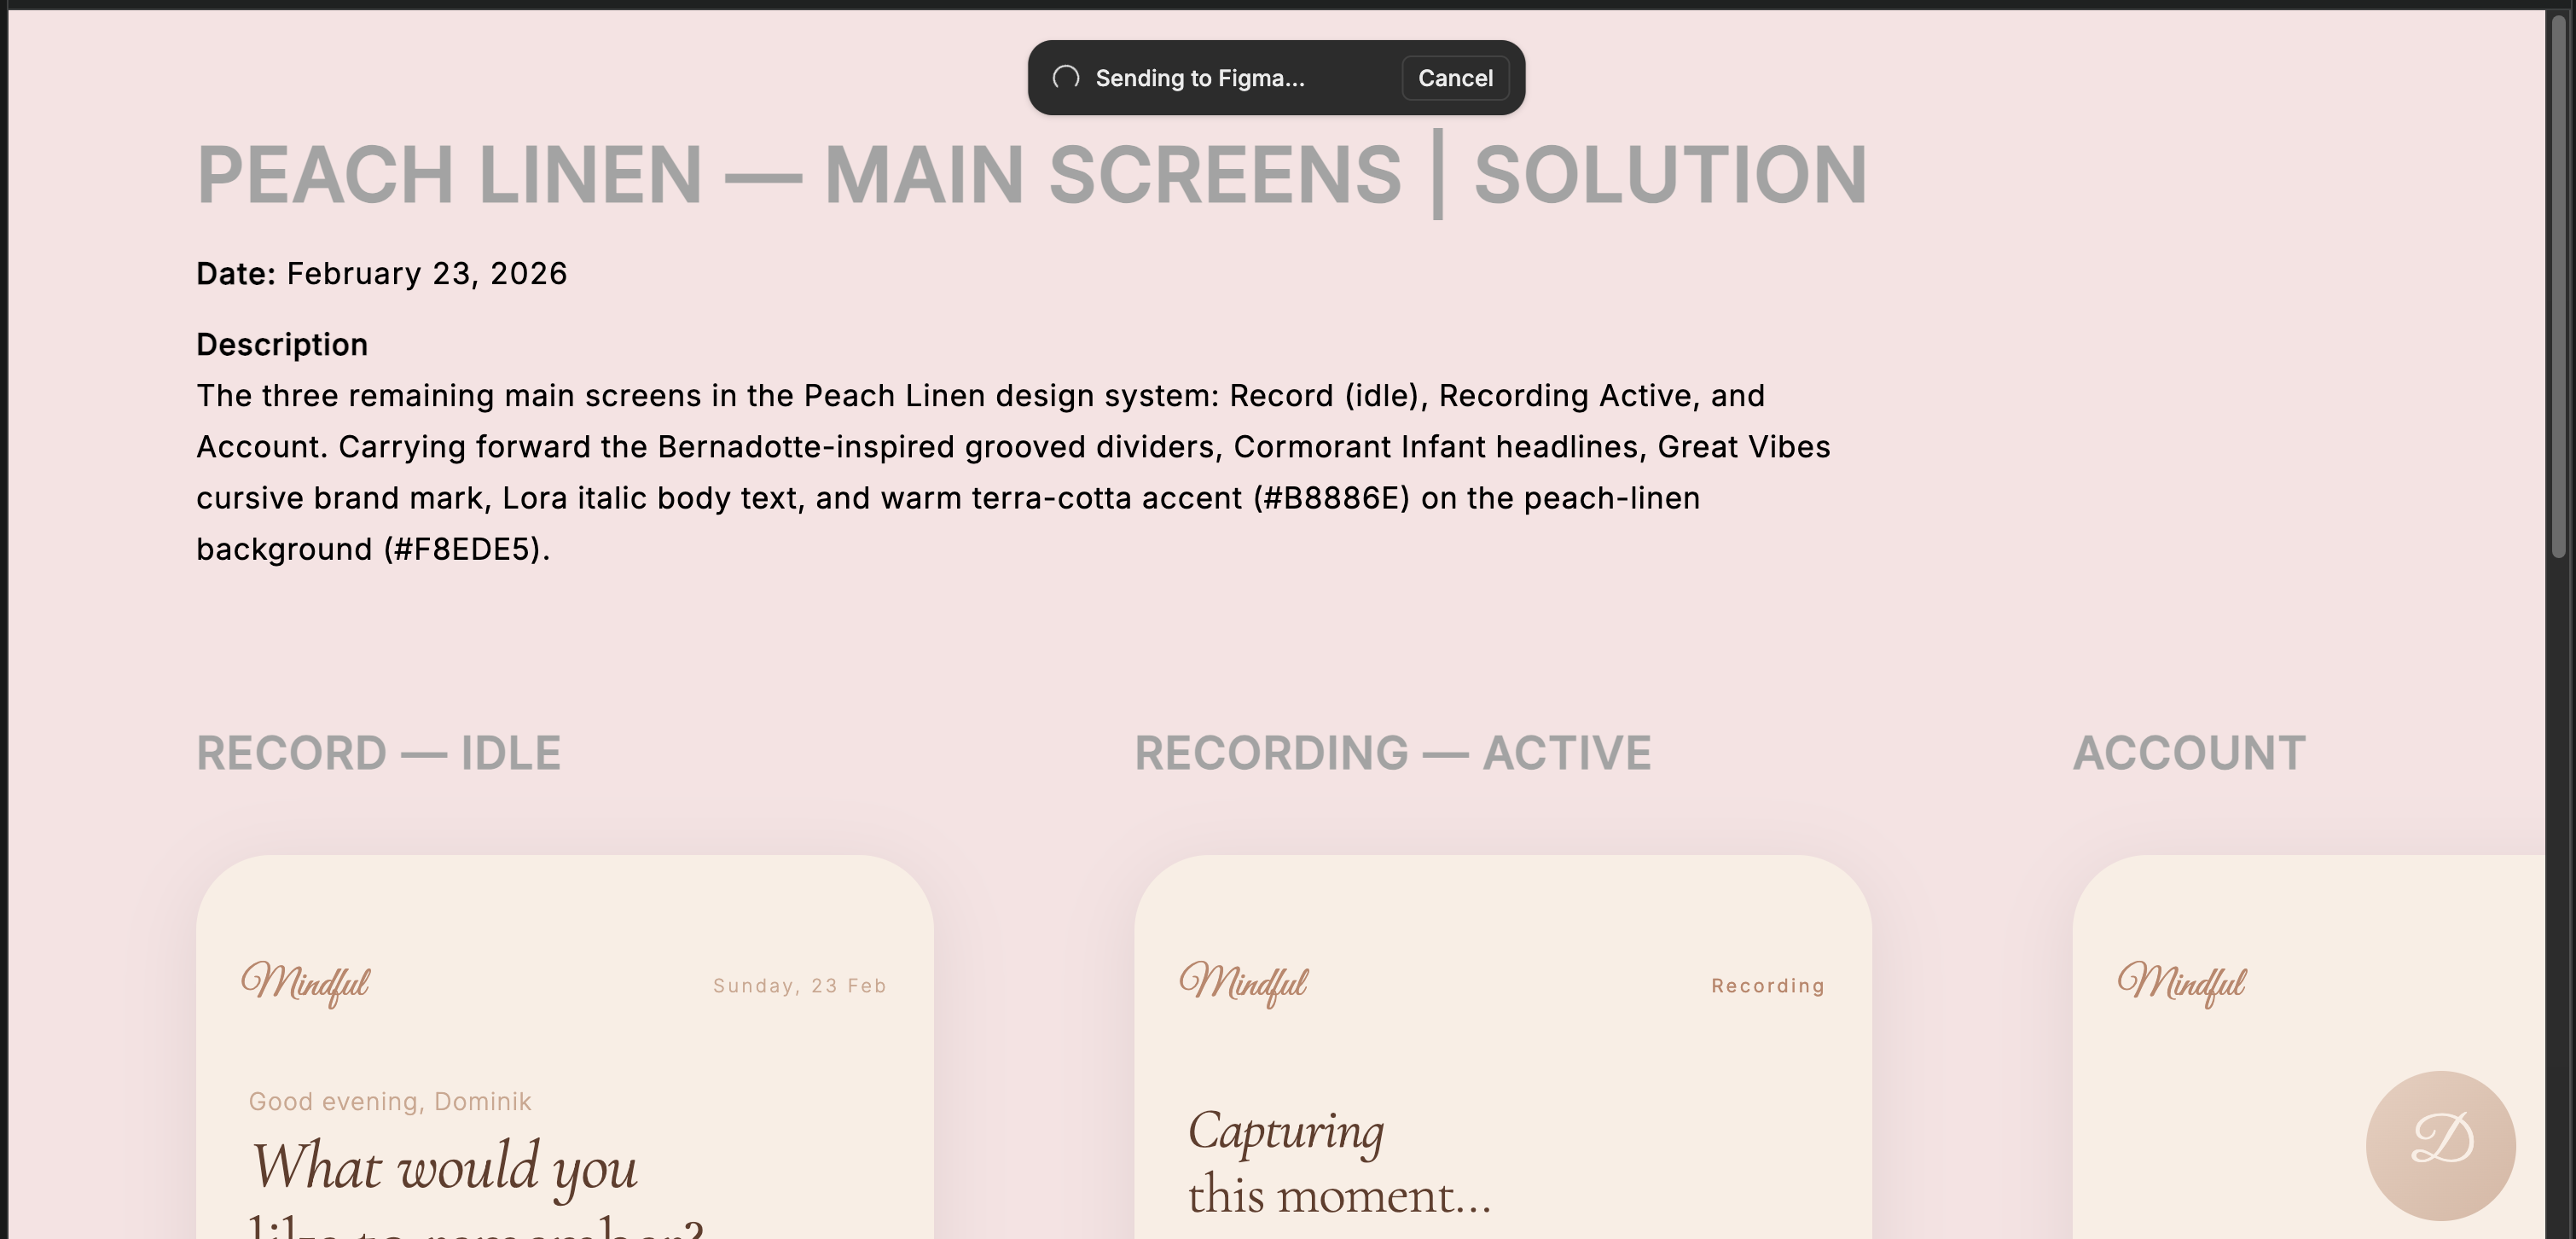
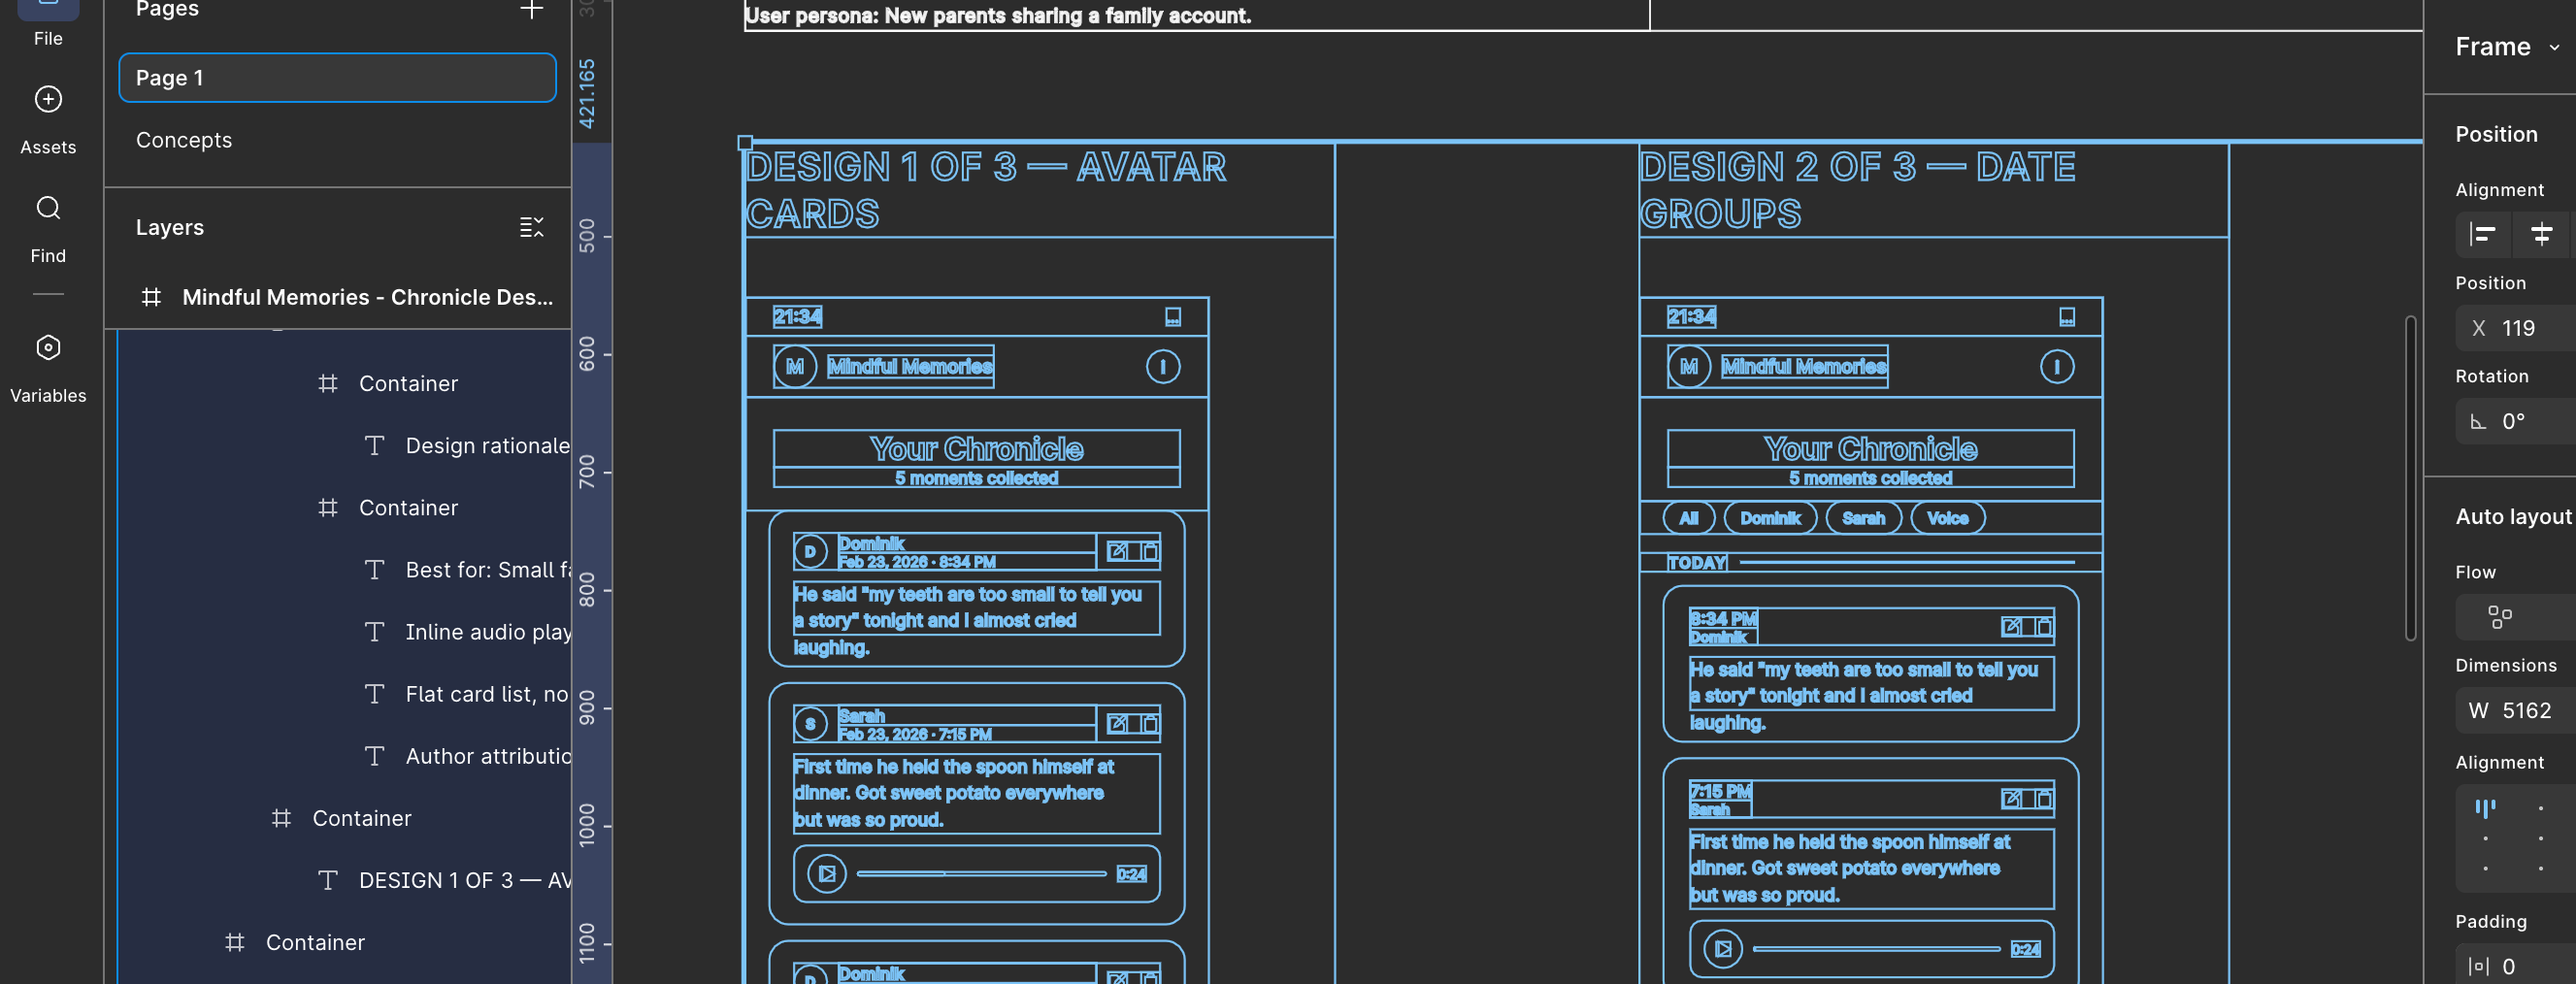
The designs will first be created in your browsers and then the Figma mcp will convert the html into Figma designs that are full editable You will also be able to select Individual components on the screen and send them directly to Figma.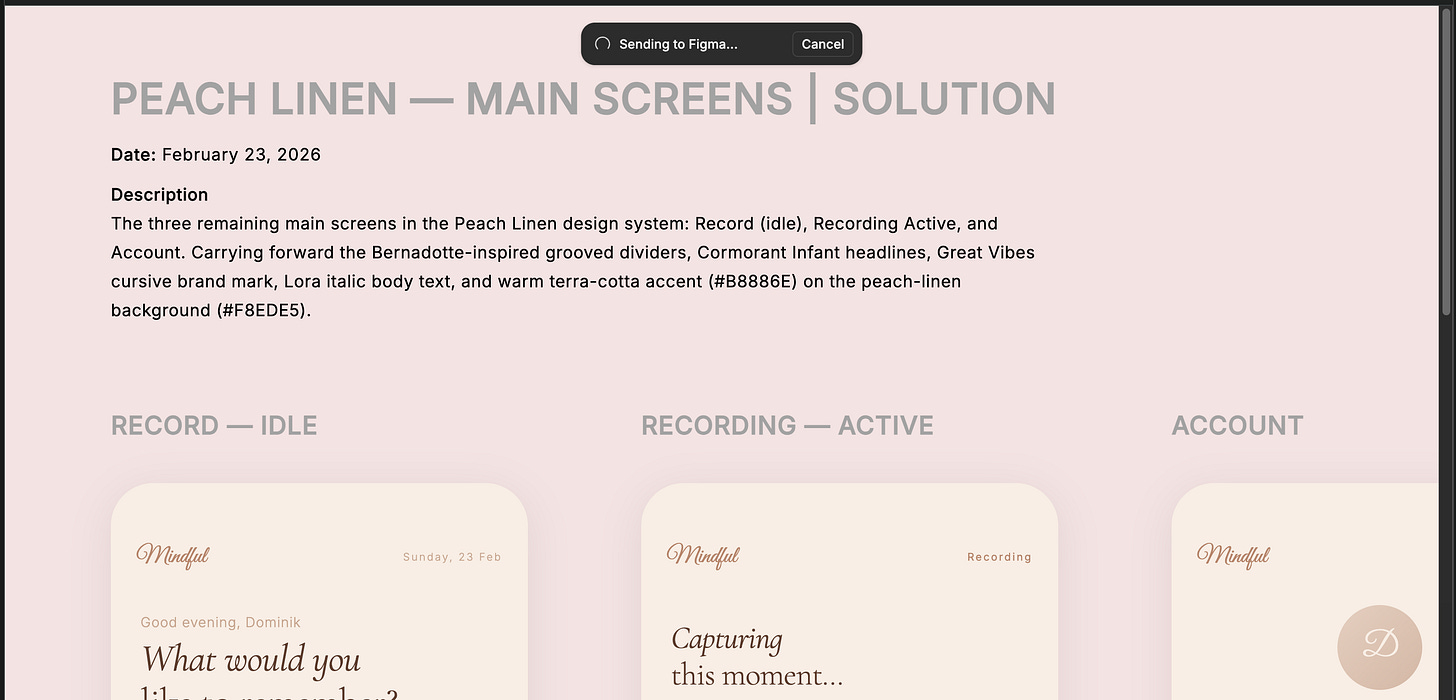
You will have fully editable design files available
The html is full converted into fully editable files. Occasionally there is more nesting of layers than I want but, it’s a trade off I like.
You can always edit this, and re-name layers once you start refining a design if you see fit.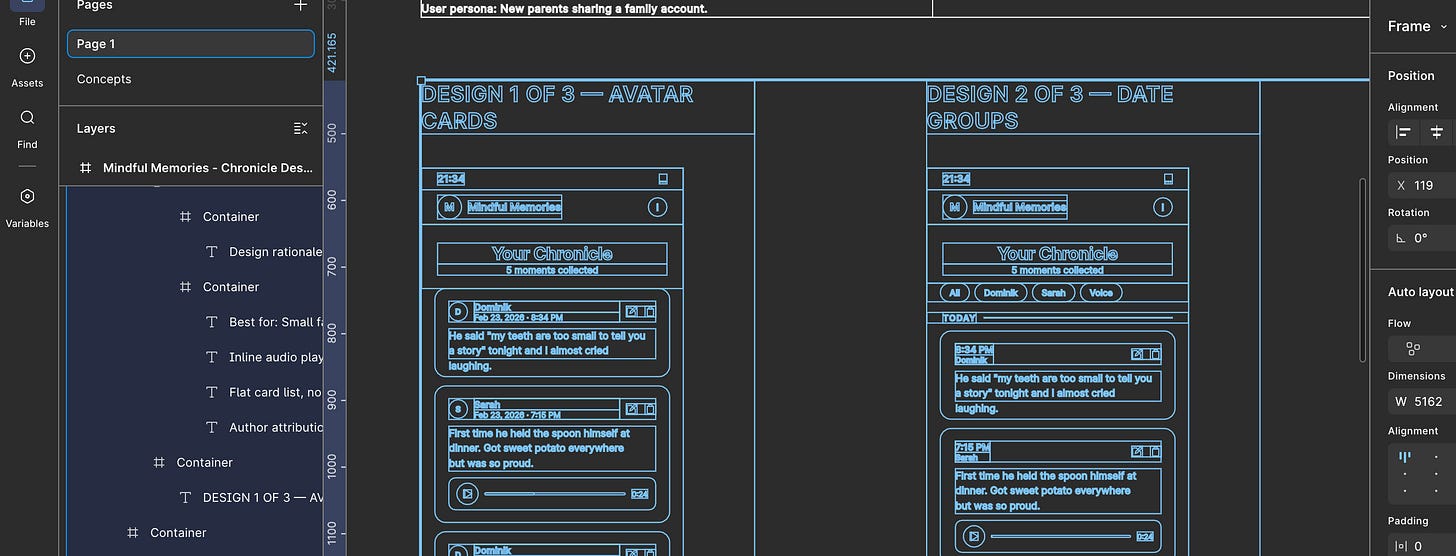
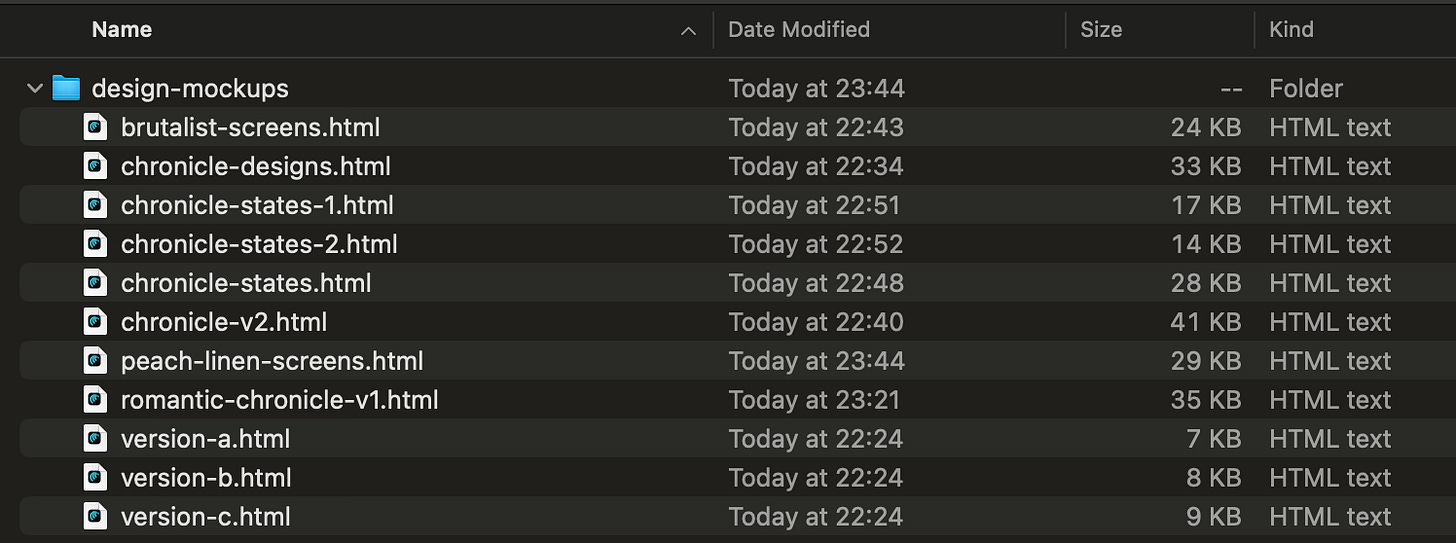
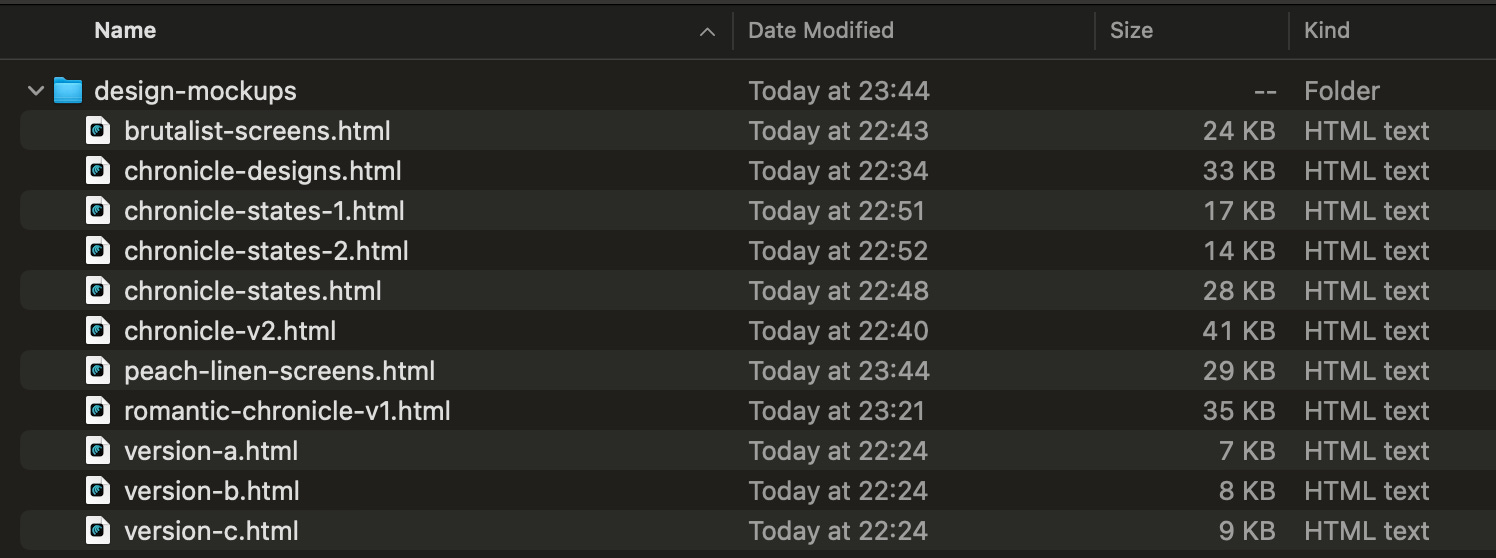
Figma file is fully editable Everything you create claude inputs into a mock-ups folder.
Reminder to make sure you’re starting claude in the correct folder. Create all states for a page or a component
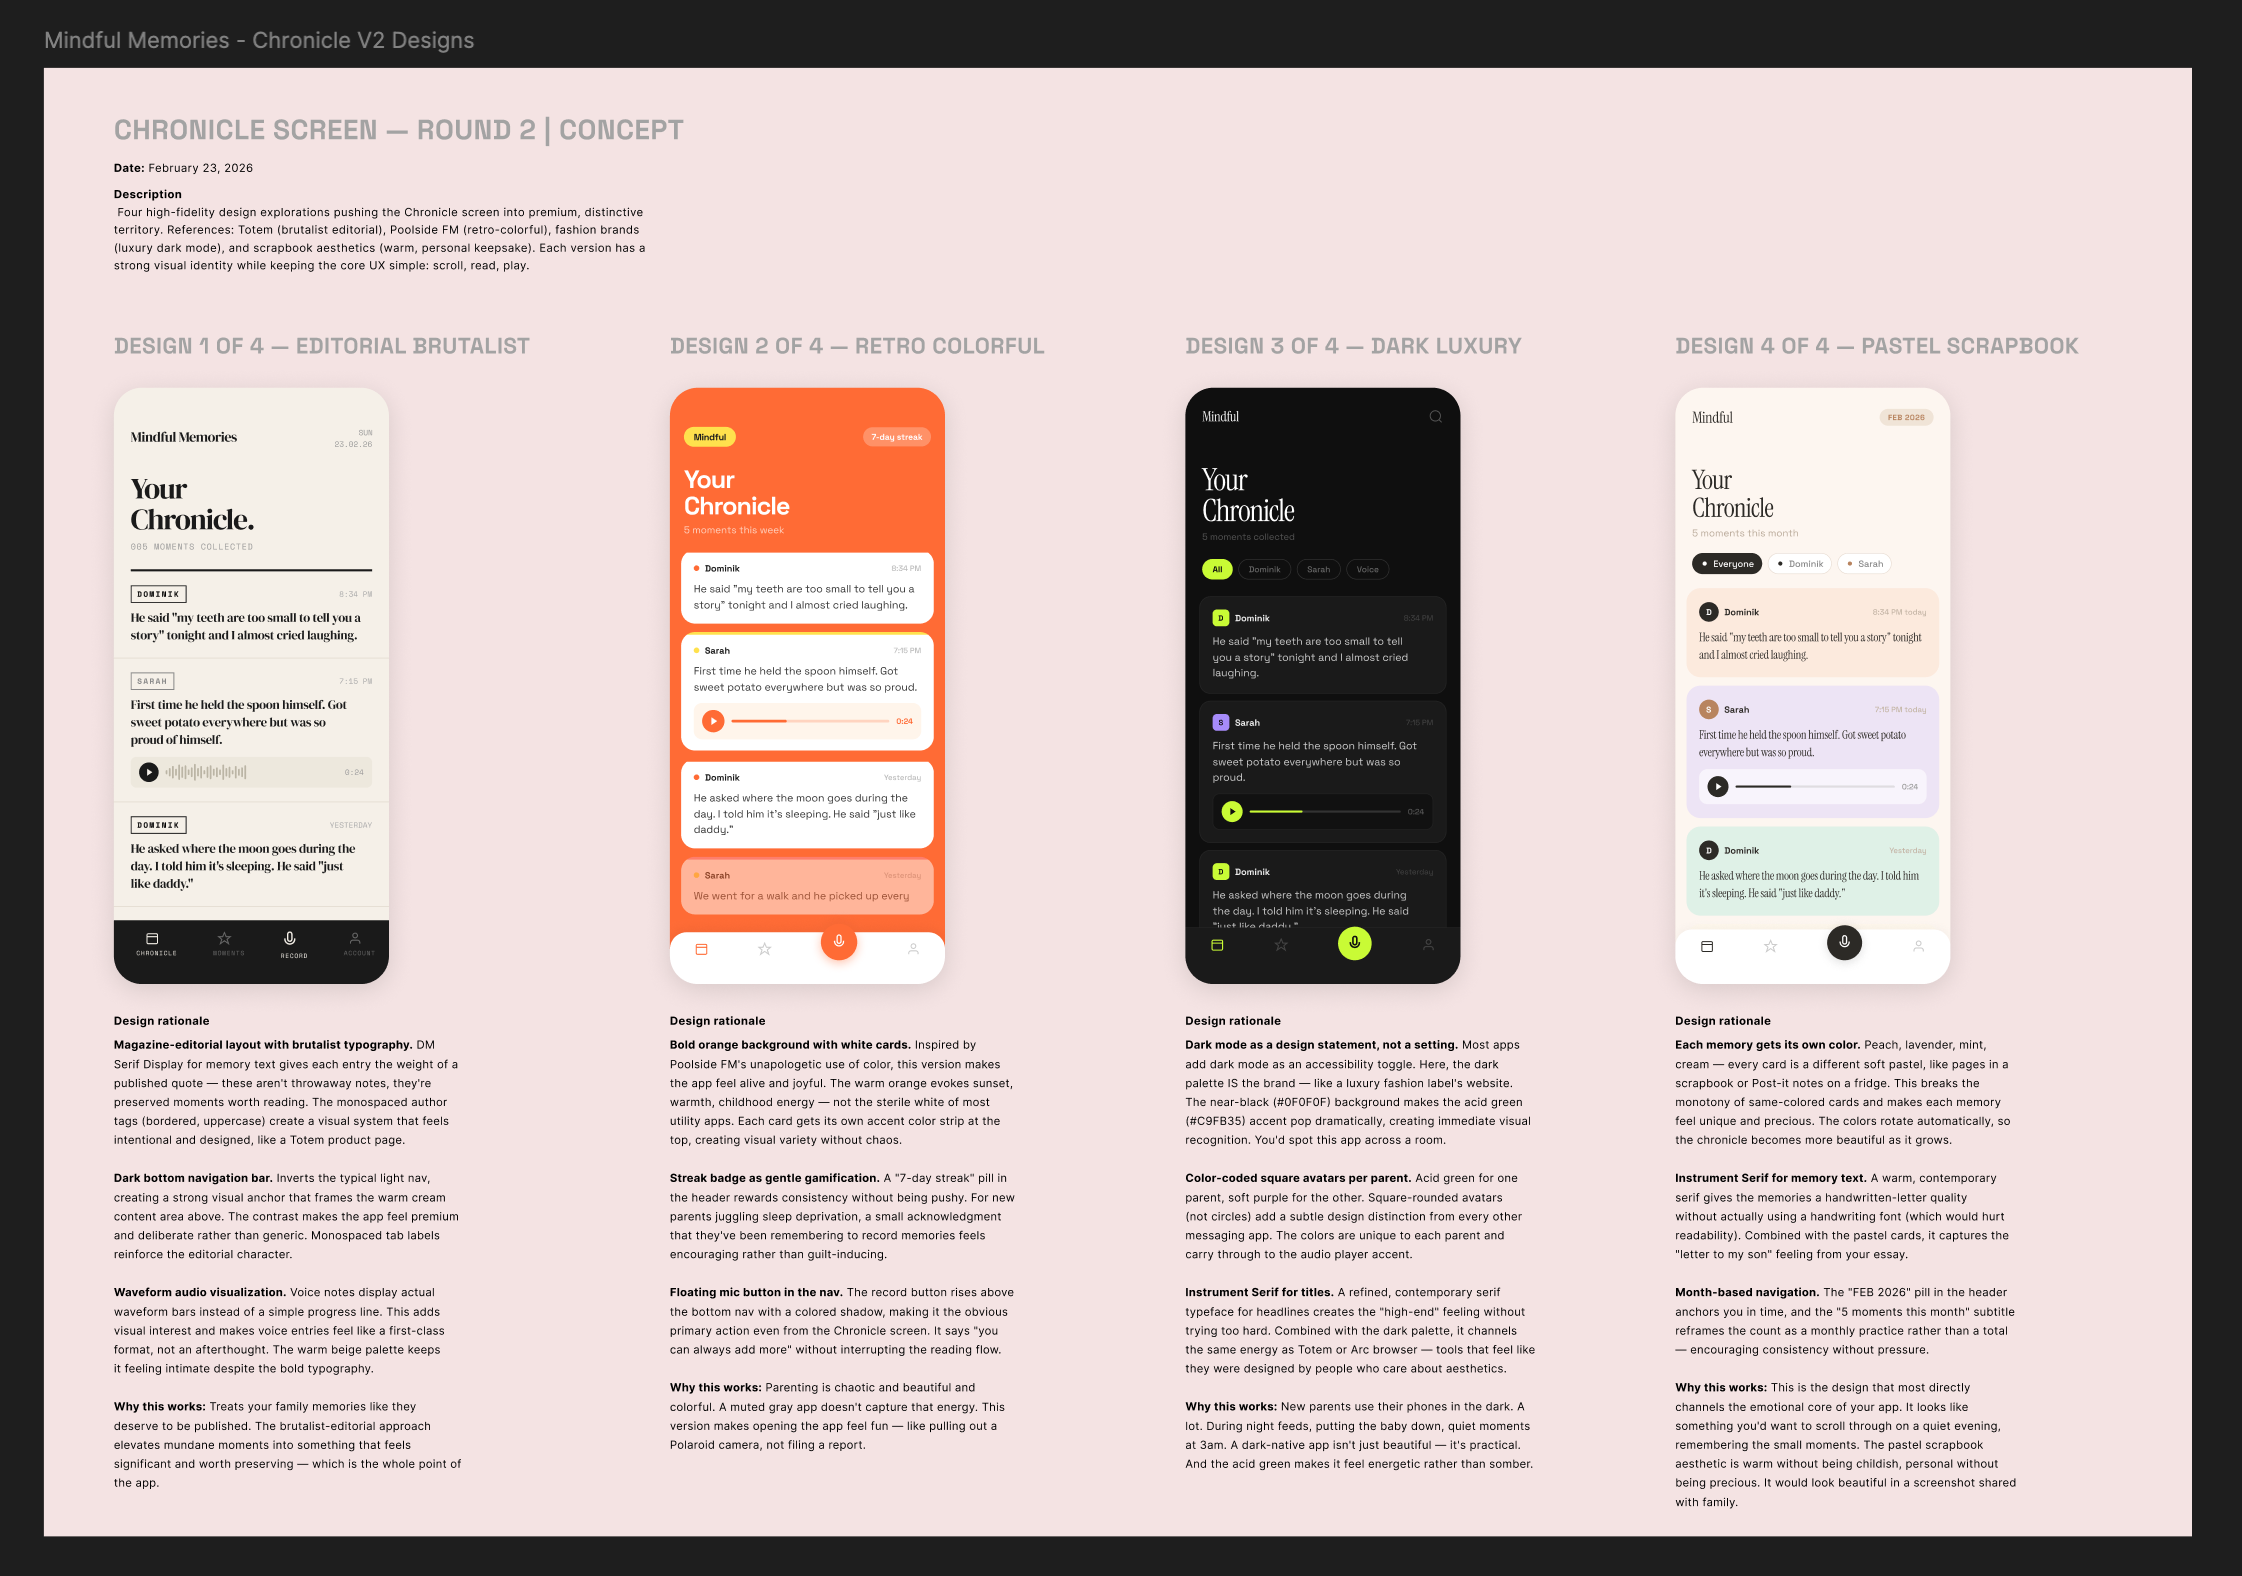
Once you like an design, ask Claude to create every state for that screen or component and include design rationale. It will create overview.
I had one state of this design, and I just asked for it to give me the different states. It explained the logic below each screen. I’ve found this really helpful on more complex stated components like a onboarding todo’s list, or more complicated visualise.
What’s cool is anything you like you can generate multiple variations of by sharing the link of that frame to Claude Clode.Refine designs
Select your direction, and refine your designs. The hard work was never creating interfaces. It’s all the logic and thinking behind each decision. This MCP is making a significant difference in the quality and speed I’m able to deliver client work.The thinking and refining of a design is still the real work to be done.

Design to production
The Design to Dev workflow I’m still experimenting with on client work. Currently I’m not using the MCP to review figma designs. My teams seen mixed results. Instead, I use exported images in github tickets. I label each image in the alt tags for Claude to build from.
It’s 90% there. I will keep experimenting with this MCP workflow and share a process once it works well. Subscribe to be the first to get it.
